Tuesday, November 25, 2014

Dollar Store Holiday Candles

Every few months two girlfriends and I love to get together to craft for upcoming seasons or holidays. We like to stick to a budget and it's a lot fun brainstorming and pinning different ideas on Pinterest to try. (Thankfully, the majority of our Pinterest crafts have worked out!) Over the weekend we went to the Dollar Tree for the supplies we needed for our craft day.


Here's one of the crafts that I made for a whopping $4 total.

The candles were each $1 and I bought a pack of 20 mini bells for $1. I already had the twine on hand from other crafts over the years, along with the hot glue gun and glue sticks.

For this craft, you'll need the following materials:
- Candles
- Twine 
- Hot glue gun + glue sticks
- Bells

It's extremely easy to make! 
  1. Place a dab of hot glue on the candle and wrap a piece of the twine towards the bottom of the candle. From there, you continue to wrap the twine around the candle, adding dabs of hot glue as you move through each layer of the twine. 
  2. When you're happy with the amount of twine you have used - you're ready to cut, add your last dab of hot glue to keep the twine secure and snug, and you're done! 
  3. To add additional decoration, I made little ribbons out of raffia (or you can use the twine that you have) and hot glued bells on the bottom of the strings. 
  4. Once you're done making your ribbon, add another dab of glue to the twine and secure your ribbon to the front of the candle. 

That's it! It's a little time consuming (and beware - your fingers will most likely get burned a few times from the hot glue gun) but for only $4, it spruced up a little shelf in my house, and it was fun to have a craft day with the girls!

Click here to read about Sharon's craft that she made (and made one for each of us girls) - we loved the way they all turned out! :)

Sunday, November 23, 2014

DIY Holiday Burlap Garland with Lights

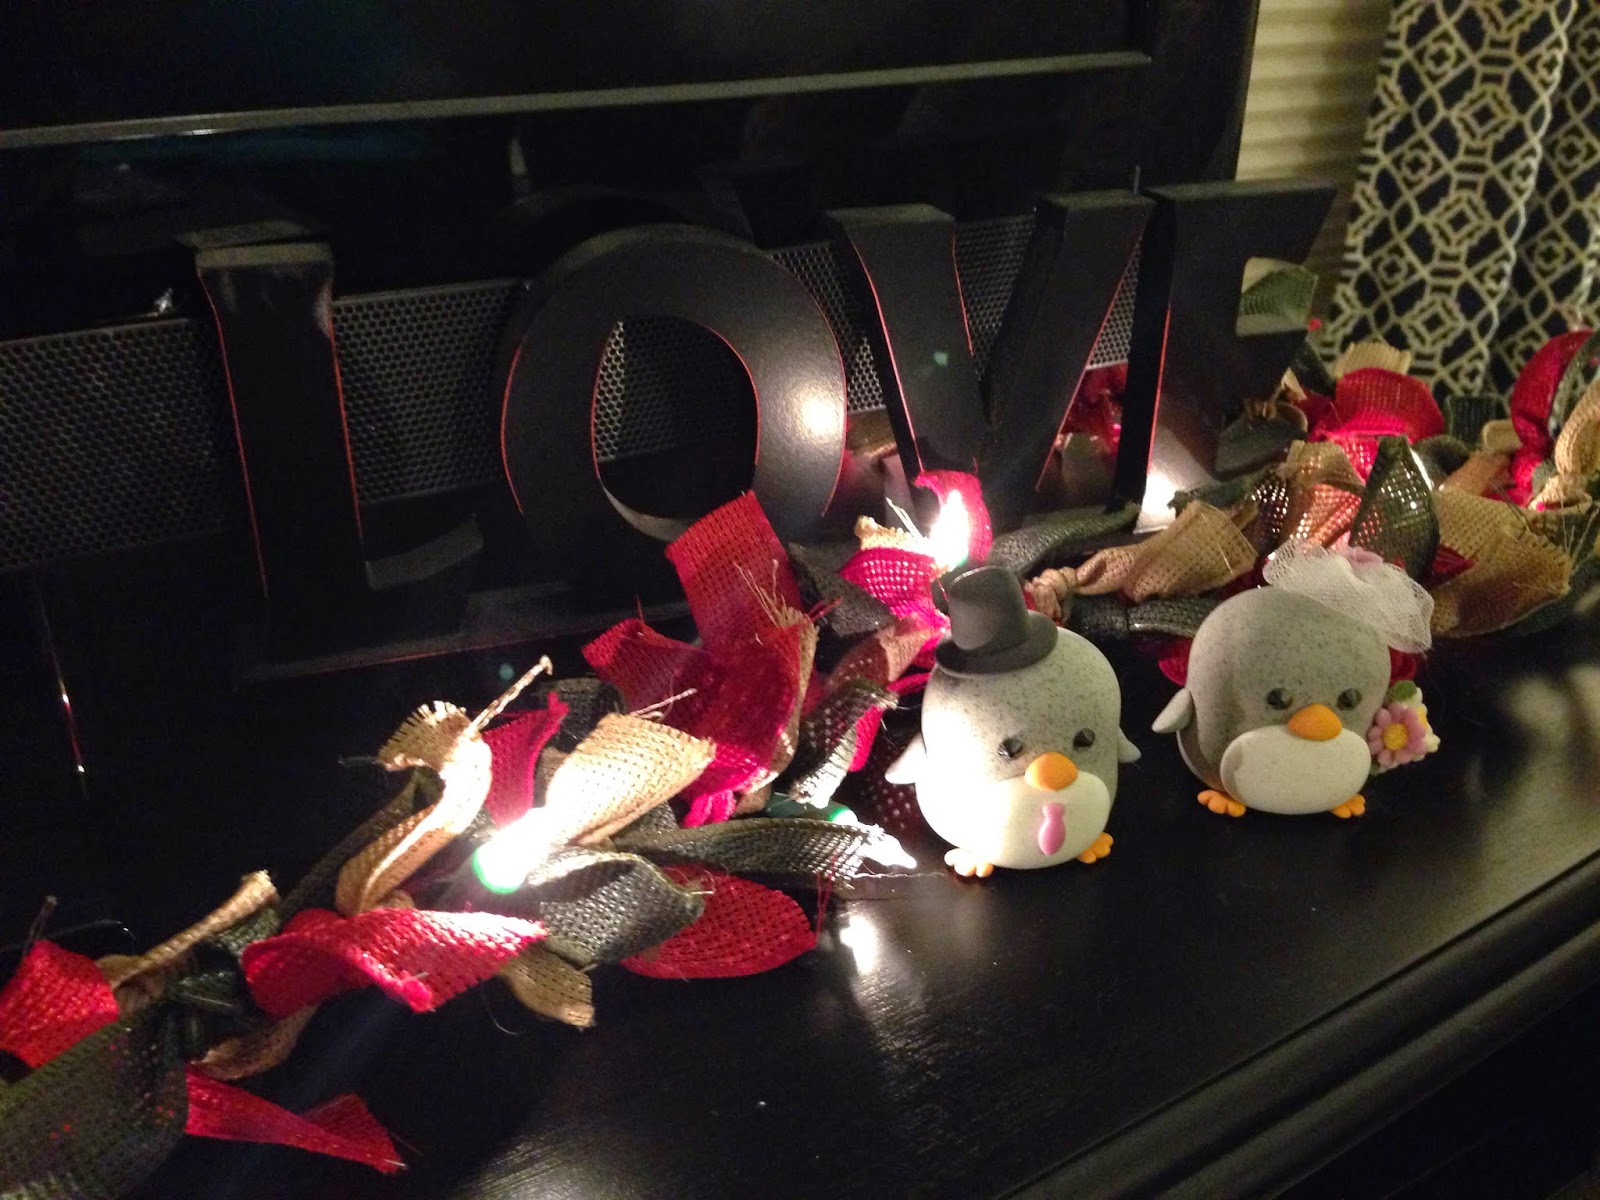
I came across this idea while scrolling through Instagram last week - (thanks Sam for the idea!!) It's so easy to make and I loved the way it turned out, adding a little extra holiday decoration to our TV stand in our living room.

Materials:
- String of indoor mini lights (I used a 9 ft. strand of 35 clear mini lights)
- Burlap ribbon (I chose to use 3 colors - green, tan and red)


I was able to get all of my materials from Michaels. I had originally picked up a small string of lights from Big Lots for $2.50 - but after a coupon that I applied to my total purchase at Michaels, I ended up paying only $1 for the lights, so I returned the other strand that I had previously purchased from Big Lots. I knew I would put the garland across our TV stand - so I chose the 9 ft string (however, depending on where you're putting your garland - you may want to choose either a longer or shorter strand). 

For the ribbon, I was planning on using red, green and tan rolls of burlap - then planned to cut and size them into small strands; however - Michaels was having a huge sale on their ribbon, and it was cheaper (and much less of a hassle) to buy the burlap ribbon to cut into pieces, vs. the large rolls of colored burlap to size and cut.

To begin, you'll want to cut your pieces of burlap. Mine were approximately 2.5 inches long.


Next, you can begin tying your burlap pieces to the strand in a knot, so that they are touching and close to each other. 


After knotting your strand - you're done! It's that easy :)

Here's the garland on our TV stand in our living room - we love the extra light it gives off (and not to mention - how cute it looks for additional holiday decor!)


Sunday, November 16, 2014

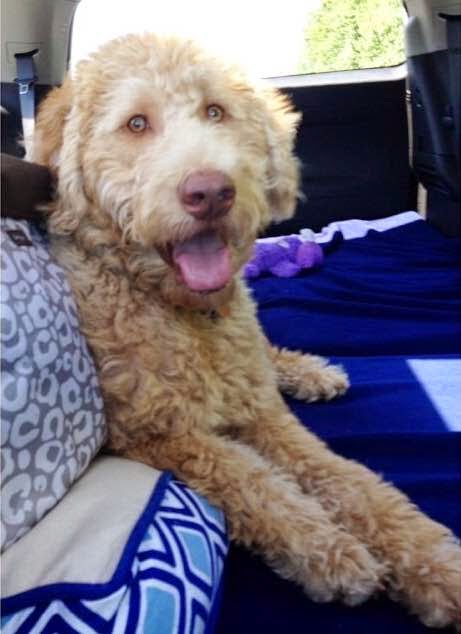
Tucker's 1st Birthday


I can't believe that our little baby is one already! It literally feels like we were just traveling through a blizzard to get him (yes, it was a mess - picture snow that you can barely see through and cars swerving and sliding all around your car and a not so happy husband driving through all of the mess). Once we finally got to him, we fell in love! He was a champ in the car on the way home and stayed snuggled up with me the whole 2 hour ride home.  

We brought him home on March 30, 2014 (my sister's birthday!) and he's brought such happiness and so much love into our home! We never expected to fall so quickly for our little guy - he's the perfect addition to our family! 

Age One Favorites: (in no particular order)
  • Ice cubes - If you say "cube" he sprints to the freezer and sits patiently waiting for you to give him one.
  • Snuggling on the couch (and he loves fleece blankets!)
  • Chasing his favorite blue squeaky football (and it seems that he loves to do this even more when it's supposed to be quiet time or when it's bed time - ha!) Thank you Uncle Nick, Aunt Teresa & Cousin Peyton for that!
  • Deer antlers (they are one of the few toys/things that he can chew and play with, that he can't destroy in a matter of minutes).
  • Taking over Meme & Pop's house when we have weekend visits - especially their huge backyard.
  • Empty water bottles - he loves to carry them around when you're done with them.
  • Nap time with Dad (they always take a nap before Eric heads to work).
  • Baby carrots - he loves to crunch and chew them (and then leave a little trail of leftover pieces in the kitchen for Mommy to clean up).
  • Laying on Eric's side of the bed... only when Eric is trying to get in the bed though. :) then he moves to his usual spot at the bottom of the bed, between our feet!
  • Walks after dinner - he uses this time to fully investigate and smell every area of the paths that we walk in our neighborhood.
  • Chasing leaves and occasionally eating one or two when Mom & Dad aren't looking.
  • Playing outside with anyone and any dog. Upon seeing another dog, he does an "army crawl" move. He lays flat on the ground with his front legs in front of him and starts crawling towards the other dog - waiting to play. His favorite dog is his girlfriend Bella that lives across the street - she's a 7 pound Shih Tzu, and it's so funny watching them play.
  • Laundry! He's obsessed with laying on laundry piles while I'm sorting the laundry to wash.
  • Playing fetch and shredding the yellow fuzz off the tennis ball.
  • Frozen peanut butter bones. We spread a spoonful of peanut butter on bones that he has (they're made for this, with a small indent on both sides for you to spread something on it to freeze). You can get a 2-pack from TJ Maxx for $5. When we leave him for more than a couple of hours, we like to give him a peanut butter bone to keep him happy and occupied while we're gone :)
  • Car rides! (Even though he has two rows of seating that's put down just for him - the whole back of our Acadia - he likes to have his paws on our center console and tries to hold hands with whoever is driving).
  • Kisses! He is constantly trying to give you a kiss or lick your face. Or - if you just put lotion on - he tries to literally lick your limbs off... he's obsessed.
  • His beloved dog walkers!! Nicole, his Poppy (Larry) & Nonie (OTJ), his Uncle Chris, and his Godfather Toph (aka Chris who now works a street away from our house) help us out when our schedules don't work out as planned or if we have long work days that would leave him in his crate for longer than 5-6 hours during the day. Thankfully, it doesn't happen too often, but when we need them - they are always so helpful, and he gets so excited to see them! Nicole also spoils him with play dates with her pups, and trips to the dog park.
Age One Facts:
  • Weight - 72 Pounds (When we brought him home 8 months ago, he weighed 35 pounds). We're told that he should be anywhere from 70-75 pounds at full growth.
  • Eats - Twice a day, Dry Food (2 cups) + Cubed Baked Chicken for each meal. (Yes... as if you didn't know already - he's completely spoiled, and usually eats better than we do).
  • Has lost all of his puppy teeth.
  • Potty training - he mastered this right away (thankfully!) and only had a few accidents in the house (Note: the only reason for these accidents - the crate was smarter than Eric in the beginning, and he didn't latch the door all the way a few times when we first got him, and Tucker figured out how he could escape the door and make the house his for a few hours each time). He always sits by the front door when he's ready to go outside.
  • Crate training - took a little longer than potty training, but within the first 2 weeks of him being home, he was perfect and no longer cries when he has to go in there - so we can't complain! (He has always loved his crate, and will go play in there or lay in there on his own, often when we're home).
  • Tucker also thinks that his name is "Mommas Baby"... My fault for calling him that so much - (but I don't mind it!):)
His new thing is barking. He's starting to bark now when he wants to go outside - or if you aren't paying attention to him, and he wants you to.

He had ice cream and a Milkbone treat to celebrate - and even tried to put out his own candle (by eating it)!

You'd think he was a baby by the way we talk about him and spoil him. You're kind of right - he's our first, and is our fur baby! We love him to pieces and we can't wait to see what else he gets into over the next year! Looking forward to comparing his age one facts and favorites with his age two facts and favorites! :)

Here are some of my favorite pictures of him throughout this past year: [Yes... I'm fully aware that he has the most documented life ever... When he's this cute, who can blame me?]

The car ride home <3 


His frist vet visit


His second vet visit 


Just a little guy... 


The start of his laundry obsession...


In Dad's police car!


Car rides (and holding hands!)


Tucker's girlfriend Bella


Cuddles with Mom...


Naps with Dad...


Loving time outside!


After playing in the woods at Meme and Pop's house


Family photo <3 


Tucker's favorite squeaky blue ball


Sweet boy...


Eating his ice cream on his first birthday <3


Thursday, November 13, 2014

DIY Chalkboards + Quotes!

Before our wedding, I had purchased two large rustic-looking picture frames from TJ Maxx. I wasn't sure what I'd use them for (originally, I was thinking to frame pictures from the wedding) - but I loved the way they looked, and they were only $8.99. For that price, I ended up buying both of them and knew that I'd find use for them somewhere/somehow.

Wedding time came! I wanted to have a sign by our favors (mason jars with little tags, and crab mallets with our names and wedding date etched on them), and I wanted to have a sign beside our candy bar. 

While at Michaels for other wedding supplies, I picked up a can of black chalkboard paint. (Note: Be careful when purchasing your chalkboard paint. I didn't know that there are different colors. At that time - Michaels carried green and black [now - you can get a variety of other colors], so at first I mistakenly picked up a can of green before realizing that it wasn't the black that I had wanted). At this time, chalkboard paint was becoming more popular  and I had seen other people spray painting different things to use as a chalkboard - I definitely wanted to give it a try!

My dad, a few days before the wedding, took the glass out of the frames and set up shop in the garage to spray paint them, to turn into chalkboards. Here he is getting the job done:


He went over the glass numerous times to make sure that there were thick and even layers of paint. After drying (we waited 24 hours), we put the glass back into the frames, and they looked amazing! They had looked like we purchased them as chalkboards, instead of picture frames - I was extremely happy with how they had turned out.

I used chalk to write out the messages that I wanted for our favors and candy bar. After the wedding, I invested in liquid chalk pens - which I like better than using regular chalk sticks, it's also much easier to use (also pretty inexpensive - I think the 4 pack was around $6).


I wish I had better pictures of the signs next to each of the tables at our wedding. These were taken while we were setting up before the wedding, and putting everything in place :)


After our wedding, I continue using the chalkboards for different things. They were used at my girlfriend Alison's wedding, and I used them for other parties and showers that I have hosted throughout the year. I hung one in our kitchen and I love writing out little quotes and sayings on it, and changing it up often. I find a lot of my ideas on Pinterest for lettering and different designs.

Here are a few that I have pictures of. I wish I had taken more pictures of other quotes that I had done in our kitchen, or at parties, to show. Mental note to myself for future chalkboard-ing!


This will always be one of my favorites (above) -
this song reminds me of my Pepa.


There are a ton of sayings and quotes that I can't wait to try for the upcoming holidays. For as easy as it was to make the chalkboards (and for only $8.99/each) - they sure have gotten a lot of use so far! I can't wait to see what I can use them for in the future, and will continue to enjoy updating the one hanging in my kitchen.

Tuesday, November 11, 2014

Quick & Easy Dinner Option: Pepper Jack Cheese and Salsa Baked Chicken

Tonight for dinner, I had thawed out chicken breasts to make but hadn't yet decided on how I was going to spruce them up. After roaming the fridge, I decided to make pepper jack and salsa baked chicken. I had tried this quick and easy recipe last year and loved it. You'll see throughout my dinner dish recipes, that we love chicken - so we incorporate it in many of our dinners. I'm constantly trying new things or looking for new ways to spruce up our chicken dishes. Hope you try this quick and easy recipe and enjoy it as much as we do!

Ingredients:
Chicken Breasts
Chunk Pepper Jack Cheese
Salsa


To start, spray your baking dish with cooking spray and place your clean chicken breasts on the pan. 

(What do I mean when I say 'clean chicken breasts'? I'm picky with meats - so when purchasing chicken or any other kinds of steaks, fish, etc. - I take the meat out of the package when I get home from the store, trim if necessary, rinse well, dry and re-package the meat in ziplock baggies to place in the freezer. That way - I know it's clean and when I pull it out of the freezer in the future, all I need to do is thaw, re-rinse and it's ready to go. Additionally, there's no need to worry about wasting time when trying to cook dinner, to trim or mess with any frozen or freezer-burnt packaging and meat.)


Next, you'll want to shred your pepper jack cheese. I used 1/4 of the chunk of cheese for two chicken breasts.


You can then sprinkle your desired amount of cheese evenly over your chicken breasts.


Next, you'll want to spoon salsa on top of your bed of shredded cheese. I recommend using salsa from a jar. If using fresh salsa, once you bake your dish - the salsa may become mushy and you'll lose the extra flavor. 

Note: Typically, I use a little more salsa to make the layer thick; however, we were running low on salsa - so this was the rest of the jar that we had on hand.


Once you've topped your chicken with the salsa, you're ready to bake! For thin chicken breasts, bake at 350 for 30 minutes. For more thick chicken breasts, bake at 350 for 40 minutes.


Here is a picture of what I had for dinner (along with steamed broccoli) - half of one of the chicken breasts I made! :) So delicious and not to mention, the kitchen smelled amazing!