Last year I made Christmas ornaments with glass ornament balls, twine, burlap, flowers, bells, and pearls. I love the way they turned out and it was fun making them (but such a process!) I definitely knew that I wanted to make ornaments again this year, and while scrolling through Pinterest one morning on my commute to work - I came across this super easy idea for DIY Faux Chalkboard Ornaments. The best thing about this project? I already had all of the materials!
Materials
- Computer & Printer
- Scrapbook Paper
- Twine / Raffia / Ribbon
- Tape Runner
- Tacky Glue (depending on the type of scrapbook paper)
- Scissors
- Hole Punch
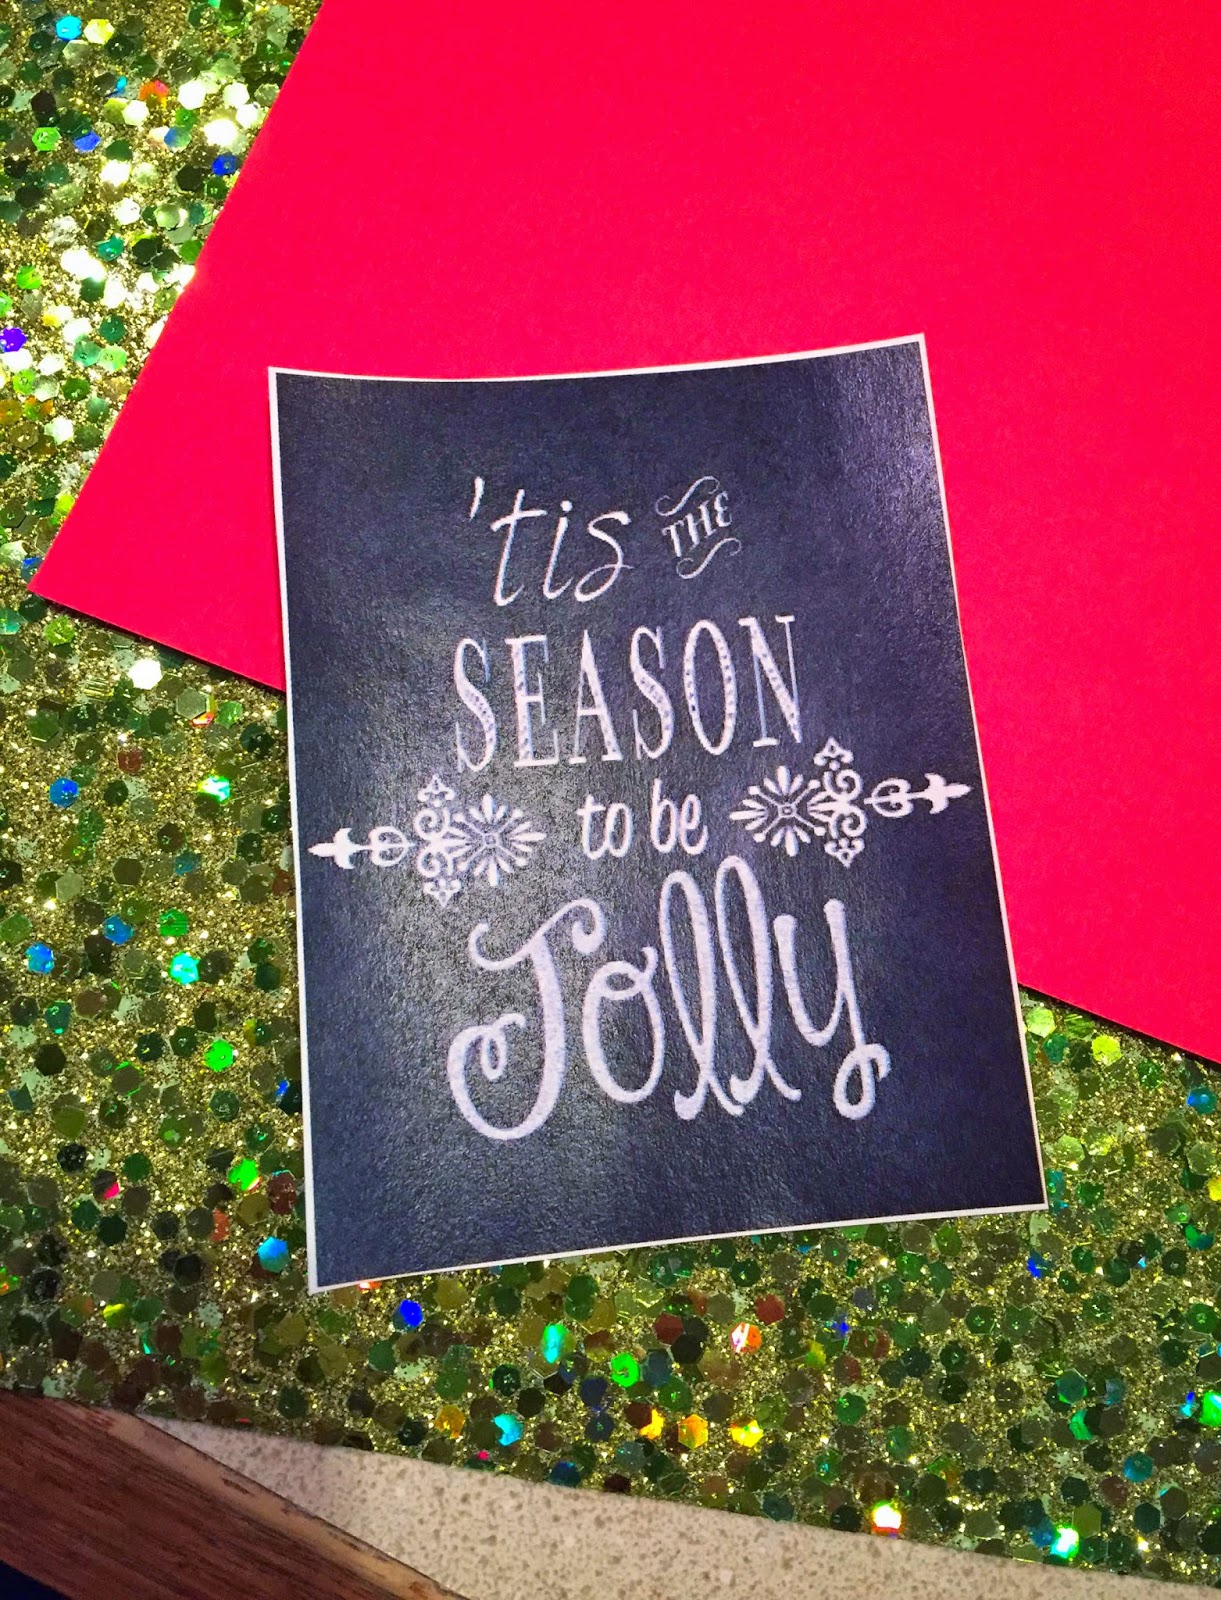
First, you'll want to print your free chalkboard PDFs.
The post I found on Pinterest shared a ton of links for free printables.
Here are some of my favorites that I chose:
Here are some of my favorites that I chose:

Next, you'll want to cut them all out. Note - I'm planning on making quite a few of these for different presents or to give as little thank you gifts, so I printed multiples of each of my favorite designs.

Now that all of your mini chalkboards are cut out, you can choose your color selections from your scrapbook paper. I had regular solid scrapbook sheets, and thick cardboard sparkle sheets.
Take your tape runner and place a strip of tape around each of the sides on the back of your mini chalkboard.

Next, press your chalkboard firmly on the first layer of colored paper.

Cut around each of the sides to remove it from the sheet of paper.

Because I used thicker cardboard paper for my last layer, I used Tacky Glue to fasten my print out to the last layer of paper. Cover the back of your chalkboard print out with glue.

Press the chalkboard firmly on your last layer of paper, and cut around the edges.

Next, punch a hole in the top of your ornament.

Lastly, tie a bow with your raffia, twine or ribbon and
you're ready to hang the ornament on your tree!

I finished two other ornaments (once all of your chalkboards are cut out, it literally only takes 2 minutes to complete the rest of the steps) - and I love the way they look on our tree :) Also - to personalize them, you can write a message on the back of your ornament if you're giving them away as gifts.
Have fun with them! I can't wait to make the rest of mine!


No comments:
Post a Comment